
Looking for a last
minute party favor for you Barn Yard themed party?
Perhaps just a fun
rainy day activity to do with the little ones?
I don’t remember
where I came across these for the first time but fell in love with them from
the start.
Best of all you can
make these little suckers with stuff that you have around the house. All you
need is:
·
Empty toilet paper or paper towel rolls ·
Craft knife or scissors
·
Craft knife or scissors· 2 inch pink circles
· Strips of pink paper about 1.5 inches by 6 inches
· Rubber bands
· Ruler
· Glue stick
· Elastic tie or string
Cut mini tubes out of
the toilet paper tubes by measuring down about 1.5 inches. I used a rubber band
to mark off the distance and cut them using the craft knife.

Add a little glue to
the rim of one end of a tube and center the 2 inch circle. Let these dry for a
few seconds. I prefer to use a quick dry glue because my toddlers get very
antsy when they know there are piggy noses in the making.
Cut little about 20
little snips evenly spaced around the edge of the pink circle making sure they
touch the tube on the inside. Run a little bit of glue around right at the
bottom of the tube and fold up the little tabs that you just made around the
pink circle, pinching them down tightly to make sure they adhere well to the glue.
Attach your rubber
bands around the freshly glued part and let dry. I use this time to draw the nostrils
on the front of the pink circle. I like to use different colors so each kid
knows which piggy nose is there’s.

Remove the rubber
bands. Take the strips of paper and evenly cover the backside with a thin
layer of glue. Starting at the bottom of the piggy nose (if you’ve already
drawn your nostrils on you will be able to tell the bottom by which way the
nostrils are facing otherwise it doesn’t really matter where you start) adhere
the pink stripe to the nose making sure you line up the edge of the strip with
the top of the tube. You will be covering the tabs that you glue down in the
step before. Replace the rubber bands and let dry.

After the glue is
completely dry poke two holes at the sides of the nose to attach your elastic.
Make sure you measure around your future piggy’s head first because nothing is
worse than an overly tight piggy nose. Tie the elastic tightly to the nose in a loop,
attach to your piggy, and sit back and enjoy your hard work in action.
You don’t have to
constrict yourself to just piggy noses. These make all sorts of great noses
just by using different colors. Try leaving the tubes longer to create zebra
and horse noses. Draw on different shapes to create kitty, lion, and bunny
noses. You can even add whiskers if you’re feeling really crafty.
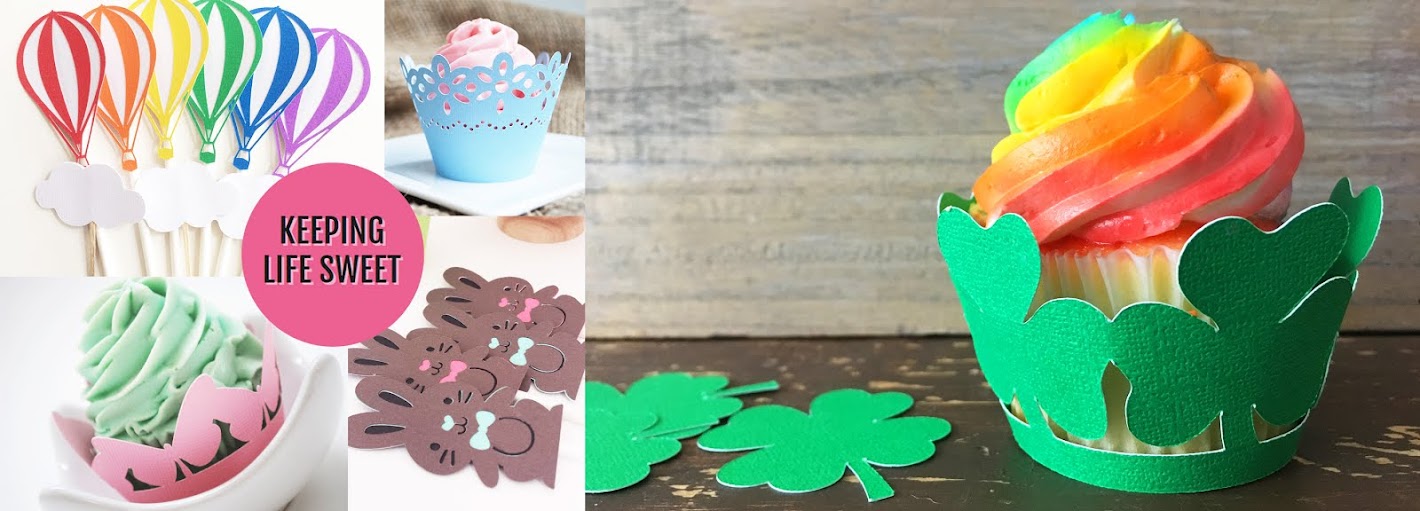
Enjoy and don’t
forget to KEEP LIFE SWEET!
-Chelsea

No comments:
Post a Comment